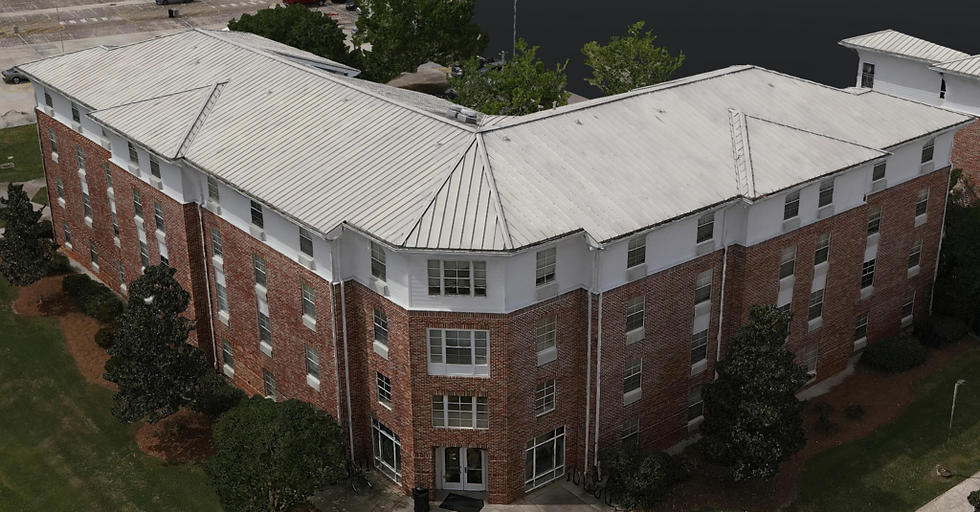
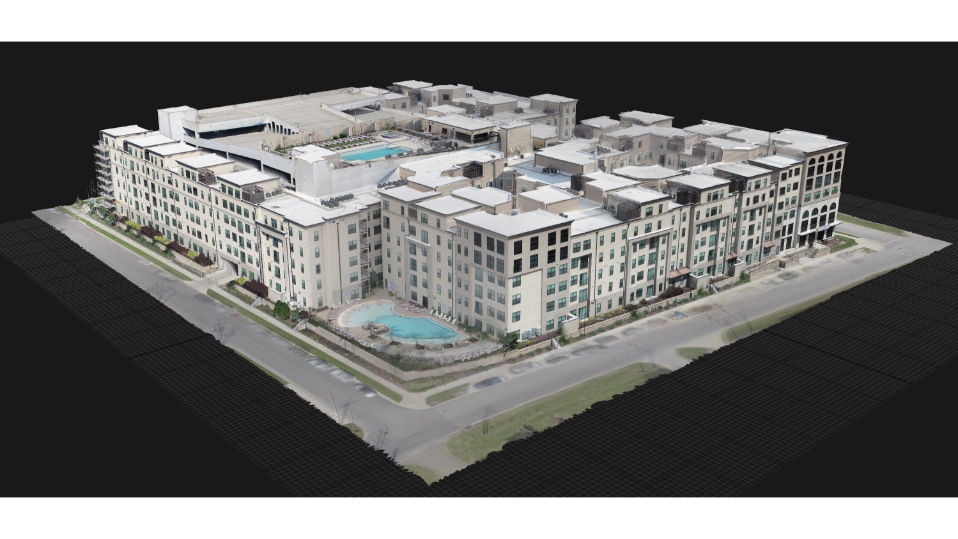
Here's a guide to achieving great UAV photogrammetry results
- Brad
- Jun 2, 2023
- 2 min read
Updated: Oct 18, 2023
Unleashing the Power of UAV Photogrammetry: A Comprehensive Guide to Achieving Accurate and Detailed 3D Mapping
1. Plan Your Mission:
Define the area of interest: Determine the specific region you want to capture with the UAV and outline its boundaries.
Set flight parameters: Choose appropriate flight parameters such as altitude, speed, and overlap to ensure optimal image acquisition.
Consider weather conditions: Check weather forecasts to plan your mission on a day with suitable weather conditions, minimizing the impact of factors like wind or rain.
2. Choose the Right Equipment:
Select a suitable UAV: Consider the payload capacity, flight endurance, and stability of the UAV to ensure it can carry the necessary equipment and capture images smoothly.
Opt for a high-quality camera: Choose a camera capable of capturing high-resolution images with minimal distortion. A camera with manual settings will provide greater control over exposure and focus.
3. Prepare Ground Control Points (GCPs):
Identify GCP locations: Determine the positions of GCPs in the survey area, ensuring they are clearly visible in the imagery and spread throughout the area.
Accurately measure GCPs: Use survey-grade GNSS devices to measure the precise coordinates (latitude, longitude, and elevation) of each GCP. Ensure GCPs have known coordinates for accurate georeferencing.
4. Plan Image Acquisition:
Design a flight path: Utilize flight planning software to design an efficient flight path, considering the area coverage, overlap, and altitude requirements.
Optimize image capture settings: Configure camera settings such as exposure, shutter speed, and focus to capture high-quality images. Bracketing or using RAW format can provide flexibility during image processing.
5. Execute the Flight:
Conduct pre-flight checks: Verify that all systems are functioning properly, batteries are fully charged, and the UAV is in a safe operational state.
Monitor the flight: During the flight, maintain a clear line of sight and monitor the UAV's behavior, ensuring it adheres to the planned flight path and maintains stable flight conditions.
6. Process the Imagery:
Image transfer and organization: Download the captured images and organize them systematically for easier processing.
Image processing software: Utilize photogrammetry software such as Pix4D, Agisoft Metashape, or DroneDeploy to process the imagery and generate a 3D point cloud, orthomosaic, and other desired outputs.
Apply GCPs: Incorporate GCPs into the processing software for accurate georeferencing and improved spatial accuracy.
7. Quality Control and Refinement:
Check outputs for accuracy: Assess the quality and accuracy of the generated point cloud, orthomosaic, and other outputs by comparing them to GCPs and known ground features.
Refine processing parameters: Fine-tune the processing parameters, such as keypoint detection or matching algorithms, if necessary, to improve the accuracy and visual quality of the outputs.
Iterative refinement: If the results are not satisfactory, consider revisiting any step of the workflow to address issues and improve the quality of the outputs.
8. Analyze and Utilize the Data:
Extract measurements and features: Utilize the generated outputs to extract measurements, analyze terrain features, or conduct volumetric calculations as per the project requirements.
Integrate with GIS or CAD platforms: Import the photogrammetric outputs into Geographic Information Systems (GIS) or Computer-Aided Design (CAD) software for further analysis, visualization, and integration with other geospatial data.
By following these steps, you can achieve great UAV photogrammetry results, enabling accurate mapping, modeling, and analysis of your chosen area of interest.


Comments